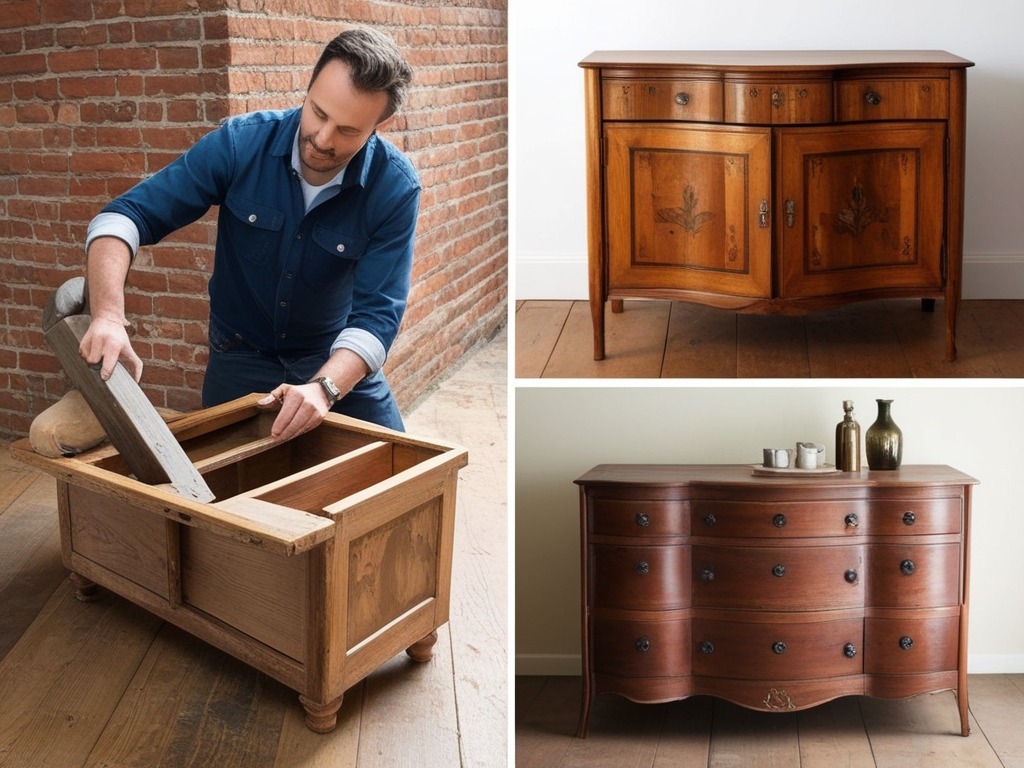
Introduction: Reviving Old Furniture with DIY Techniques
Reviving old furniture is not just about restoring functionality; it’s an art that intertwines creativity and nostalgia. Each piece carries a history, whispering tales of its past as it waits for the right hands to breathe new life into it.
By embracing DIY techniques, you can transform these timeworn treasures into unique decor elements that resonate with your personal style. Imagine turning a faded wooden chair into a vibrant statement piece or rescuing an antique side table from obscurity with just some paint and fabric.
DIY restoration allows you to explore various artistic expressions—from distressing finishes to decoupage or upholstery transformations—providing endless opportunities for customization. This journey often inspires sustainable living practices by encouraging the reuse of materials and reducing waste in our homes.
Moreover, the sense of accomplishment derived from completing such projects fosters confidence in your crafting skills while connecting you to generations who have turned the ordinary into extraordinary with little more than imagination and elbow grease.
Embrace this enriching experience: every brushstroke tells a story, each sanding brings out character—your restored furniture will ultimately become not only functional objects but heirlooms infused with your personal narrative.
Assessing Your Furniture’s Condition
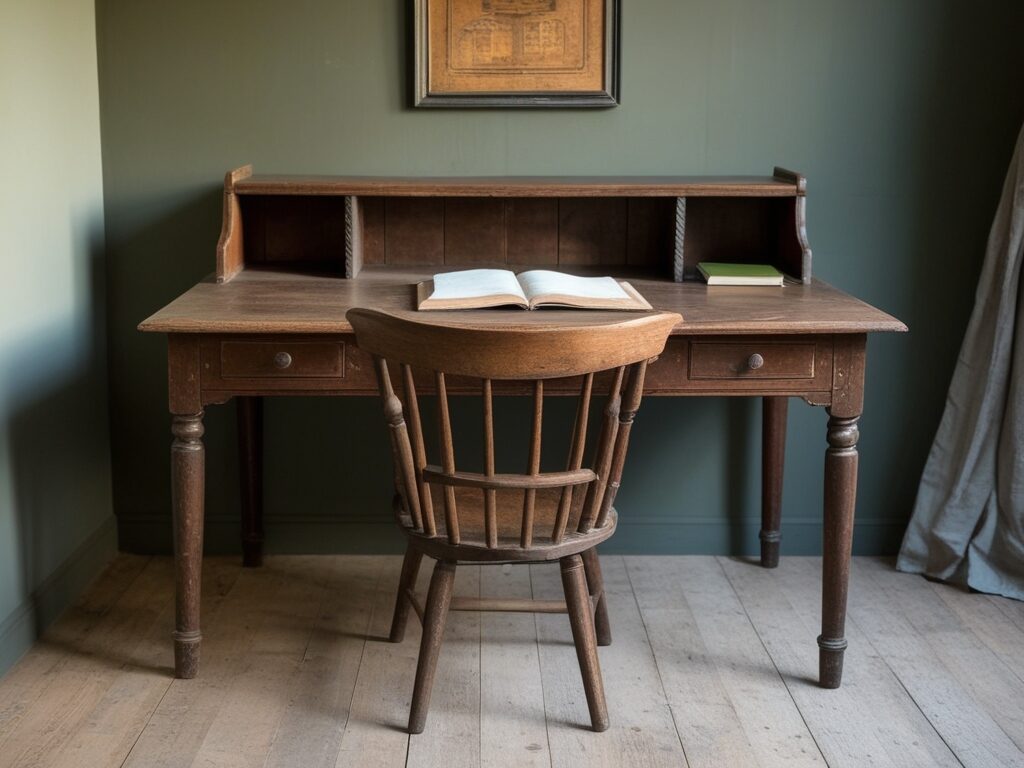
Assessing your furniture’s condition is a critical first step in any restoration project. Begin by examining the structural integrity—check for wobbly legs, loose joints, or sagging frames. These issues can often be repaired with minimal effort and can dramatically extend the life of beloved pieces.
Look closer at the surface; scratches, dents, and discoloration are common indicators of wear but also tell a story about its past usage—sometimes adding character rather than detracting from it.
Don’t overlook hidden areas such as the underside or back panels where signs of wear might reveal deeper issues like pests or moisture damage. In older pieces, original finishes may have been compromised over time; identifying these will guide your approach to stripping or refinishing without losing value.
Remember, assessing condition isn’t just about what’s visible—it’s also an opportunity to revive memories or aesthetics through careful restoration choices that highlight each piece’s unique heritage while ensuring it’s ready for another chapter in your home.
Essential Tools for Restoration Projects
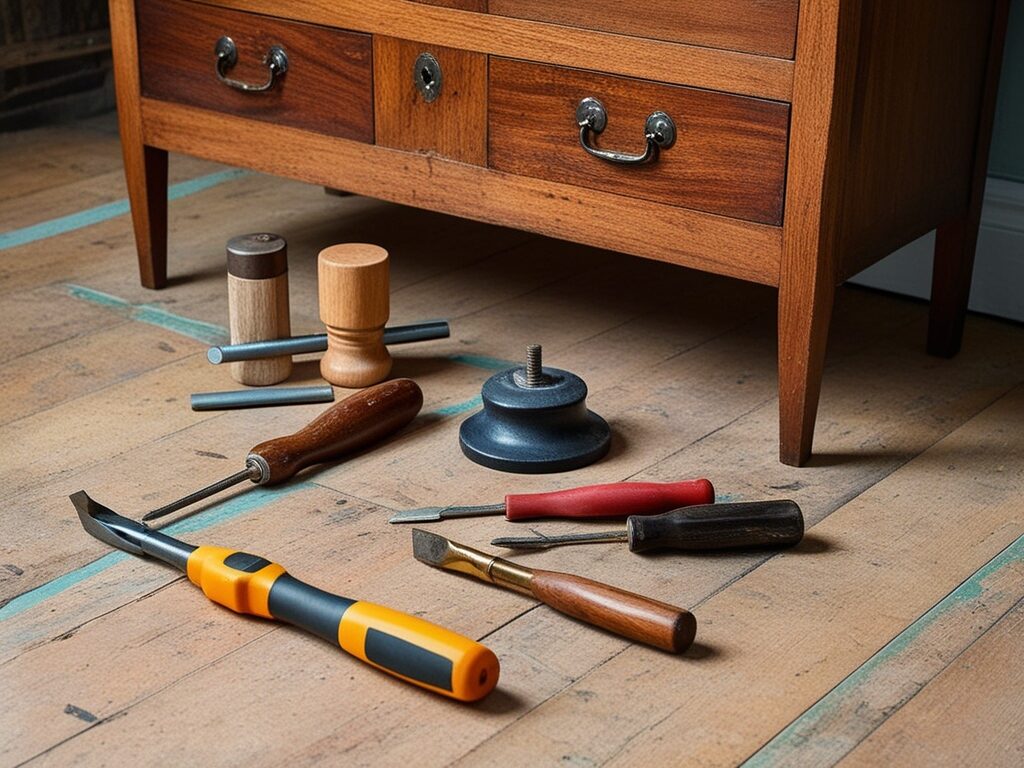
When embarking on a restoration project, having the right tools at your disposal can make all the difference between a tedious undertaking and a rewarding experience. Essential tools typically include a variety of screwdrivers, pliers, and sanders; however, many DIY enthusiasts overlook unique items that can elevate their projects.
For instance, including wood glue sheets in your toolkit allows for seamless repairs in hidden joints or cracks. Meanwhile, using an oscillating multi-tool not only saves time when cutting intricate details but also minimizes damage to surrounding surfaces.
In addition to traditional hand tools, consider investing in some specialized equipment like a heat gun for paint stripping or adhesive removal. This not only speeds up the process but also protects underlying wood from harsh chemicals typically found in solvents.
Similarly, incorporating an electric sander with varying grits helps achieve that perfect finish and reveals hidden layers of beauty within older furniture pieces—transforming them into stunning statement pieces for any space. By thoughtfully selecting your tools and techniques, you empower yourself to breathe new life into tired objects while enjoying every moment of the creative journey.
Cleaning and Preparing the Surface
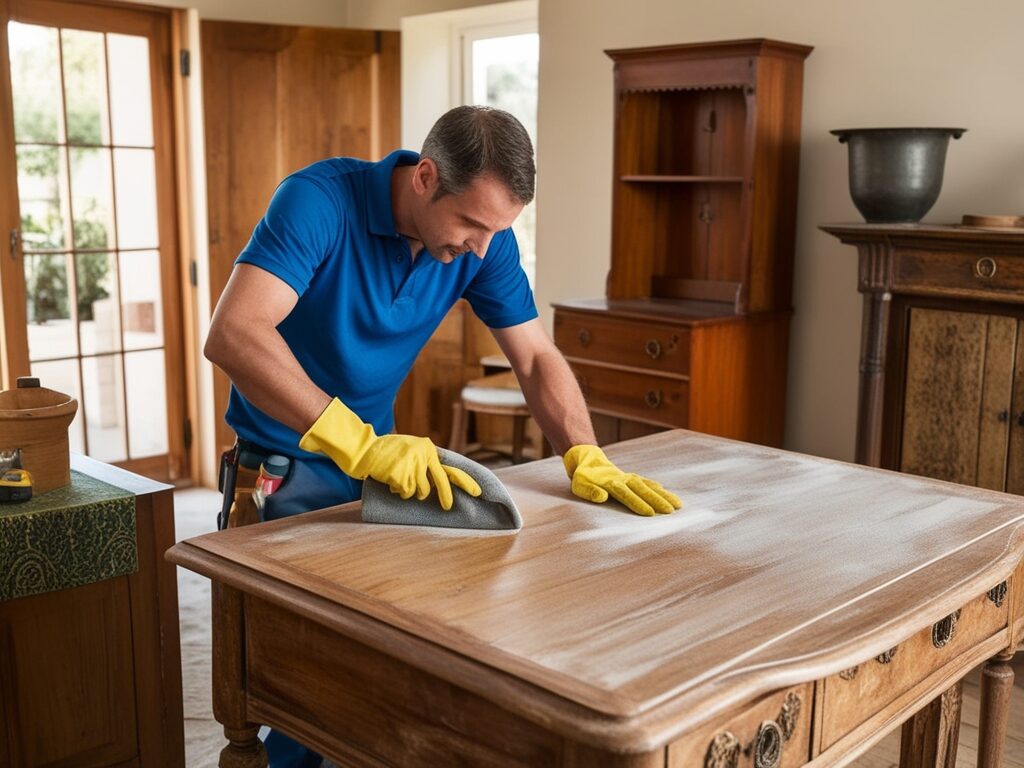
When it comes to restoring old furniture, the first step often sets the tone for the entire project: cleaning and preparing the surface. This is not merely a chore; it’s an opportunity to uncover hidden beauty beneath layers of grime, paint, or finish.
Start by dusting off any loose debris using a soft cloth or brush, paying special attention to intricate carvings where dirt tends to accumulate. Then, mix a gentle soap solution with warm water and use a sponge to wipe down surfaces thoroughly. For stubborn stains or sticky residues, consider biodegradable solvents that won’t compromise the wood’s integrity.
Once your piece is clean, assess its condition closely—look for scratches, dents, or areas needing repairs. Sanding may be necessary in some spots but approach it delicately; fine-grit sandpaper can refresh worn areas without stripping away too much of the original finish.
Make sure you feather edges well so that new finishes blend seamlessly into existing wood tones. Remember to vacuum up dust afterward and wipe again with a damp cloth—this ensures you’re starting with a pristine canvas ready for your creative vision! Each stroke in this preparatory phase is like setting down the first notes of an unfinished symphony; it’s essentially about respecting the past while preparing for transformation.
Repairing Damaged Parts Effectively
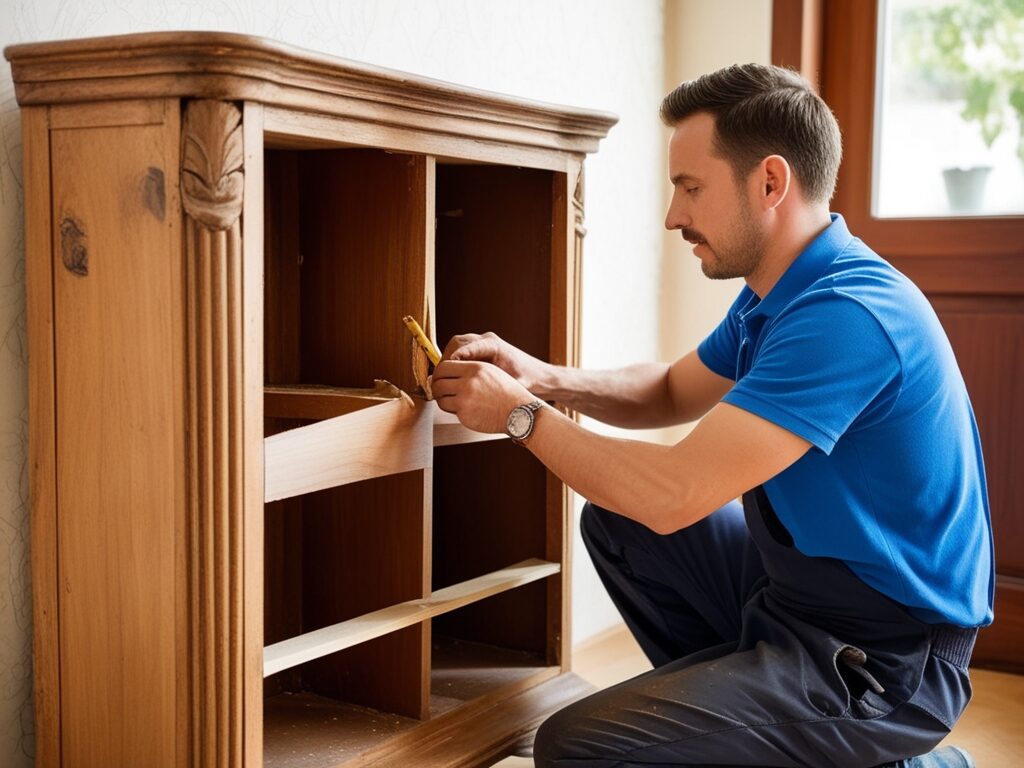
When tackling the repair of damaged parts in old furniture, it’s essential to view each imperfection as an opportunity for creative enhancement rather than just a flaw to fix. For instance, instead of merely replacing missing wood from a table leg, consider integrating a contrasting material like metal or reclaimed wood. This not only adds character but also tells a story, transforming what could have been a simple restoration into a standout feature.
Another effective approach is utilizing epoxy resin for filling cracks and holes. Not only does it provide strength and durability, but when dyed or tinted appropriately, it can blend seamlessly or serve as an eye-catching accent that highlights the repair work.
Additionally, incorporating decorative techniques such as decoupage around the repaired area can mask imperfections while infusing personal style—turning repairs into artistic expressions rather than remedial fixes. By embracing these methods, you not only restore functionality but breathe new life into beloved furniture pieces that hold memories worth celebrating.
Choosing the Right Paint or Stain
When embarking on your old furniture restoration journey, the choice of paint or stain can drastically alter not only the appearance but also the character of a piece. Paint offers a bold canvas that transforms vintage items into vibrant statement pieces, perfect for those looking to infuse their space with modern flair. Opting for chalk paint grants you an elegant matte finish and flexibility in distressing methods, allowing you to craft a charming shabby chic look that honors both history and contemporary style.
On the other hand, stains delve deeper into the wood’s natural beauty, emphasizing its grain and texture while preserving its authenticity.
When selecting a stain, consider experimenting with different colors to achieve varying depths; even using multiple layers can create rich tones that resonate with warmth and sophistication. Moreover, water-based stains are forgiving for beginners—they dry quickly without lingering fumes, enabling swift layering and adjustments.
Ultimately, whether you choose paint or stain hinges on the story you wish to tell through your restored furniture; let your creativity flow as you breathe new life into each cherished piece.
Techniques for Distressing and Aging Wood
One effective technique for distressing and aging wood is the use of vinegar and steel wool. By soaking steel wool in white vinegar for a few hours or overnight, you create a natural stain that reacts with the tannins in the wood, producing an authentic grayish hue reminiscent of timeworn timber.
This eco-friendly approach not only ages the wood but also imparts a unique finish that can be further enhanced by lightly sanding after application to reveal deeper grain patterns.
Another popular method involves using sandpaper or wire brushes to selectively wear down edges and surfaces. This process simulates years of wear and tear, allowing you to focus on areas that naturally experience more scuffing.
For added character, consider incorporating techniques such as nail insertions or minor gouges; these imperfections tell a story of their own. Finally, sealing your distressed piece with a matte varnish will preserve its rustic charm while protecting it from future damage, ensuring your labor of love stands proudly as part of any curated space.
Adding Finishing Touches for Charm
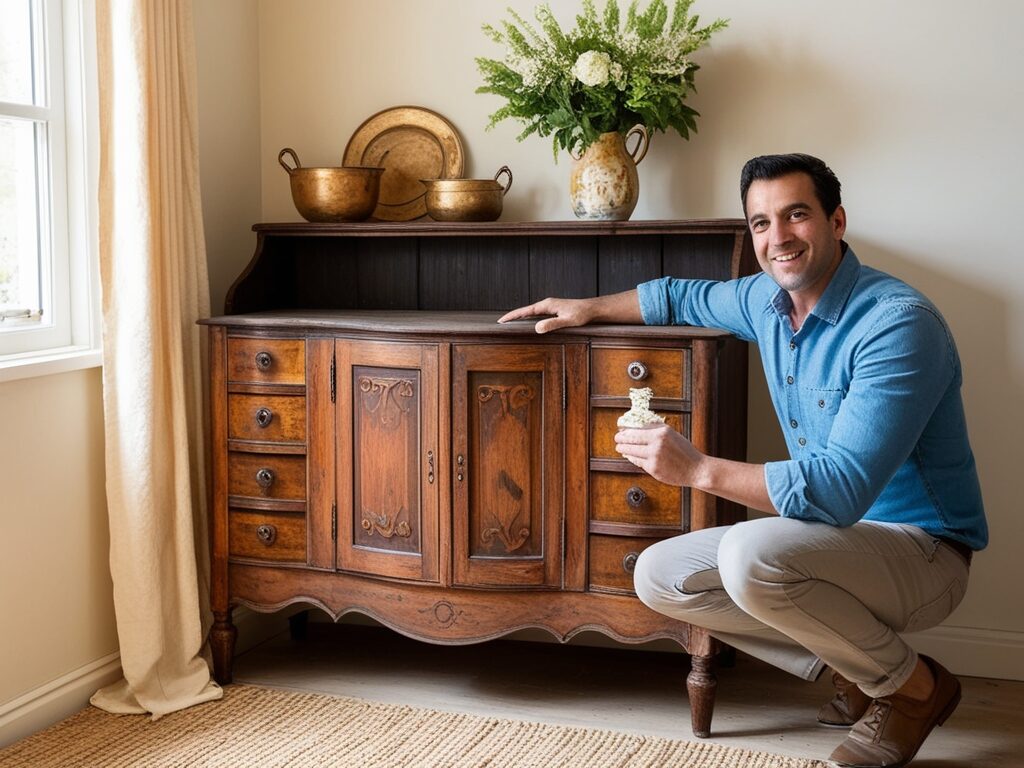
As you breathe new life into your old furniture, the finishing touches truly define its charm. After sanding and painting, consider using wax or a quality finish that enhances and protects the wood while adding a subtle sheen.
This not only brings out the grain’s beauty but also creates an inviting touch for those who interact with it. Imagine how a soft luster can transform an ordinary piece into something extraordinary, beckoning guests to appreciate its story.
Accessories are equally important when finishing your project. Thoughtfully chosen hardware—like antique knobs or handmade pulls—can imbue your restored furniture with character that echoes the past while remaining functional in today’s homes.
Play with unexpected elements such as stenciled designs or decoupage details using vintage fabric scraps; these unique accents foster intimacy within the room, inviting stories and conversations around your cherished pieces.
Finally, don’t shy away from incorporating a personal touch through curated decor items, such as heirloom books or potted plants that complement your restoration efforts. Each element should resonate with you, creating a harmonious space where every restored piece can shine proudly amongst modern aesthetics while still embodying history’s warmth and charm.
Conclusion: Embrace Vintage Style with DIY Restoration

Embracing vintage style through DIY restoration is not just about reclaiming old furniture; it’s a journey into the heart of craftsmanship and creativity. Each piece tells a story, imbued with history and character that can be rejuvenated with your personal touch.
By choosing to restore rather than replace, you’re not only saving money but also contributing to sustainability by giving life back to objects that might have otherwise ended up in landfills.
Moreover, the beauty of DIY restoration lies in the opportunity for self-expression. You have the freedom to blend modern aesthetics with classic designs, experimenting with colors, textures, and finishes that resonate with your unique taste.
Whether it’s refinishing a weathered table or reupholstering a chair with bold fabric, every project invites you to connect deeply with both the material and your evolving style. So gather your tools and let each restored piece become a testament not only to timeless elegance but also to your ability to craft new narratives from what once was forgotten.


